When November rolls around in Northern Europe, outdoor balcony gardening grinds to a halt. The wind howls, temperatures dip below freezing, and the daylight shrinks to six dreary hours.
If you rent an apartment, building an elaborate indoor hydroponic tent or mounting suspended fluorescent fixtures into the ceiling isn’t an option. Your security deposit won’t survive the screw holes, and nobody wants their kitchen living room humming like an industrial server rack.
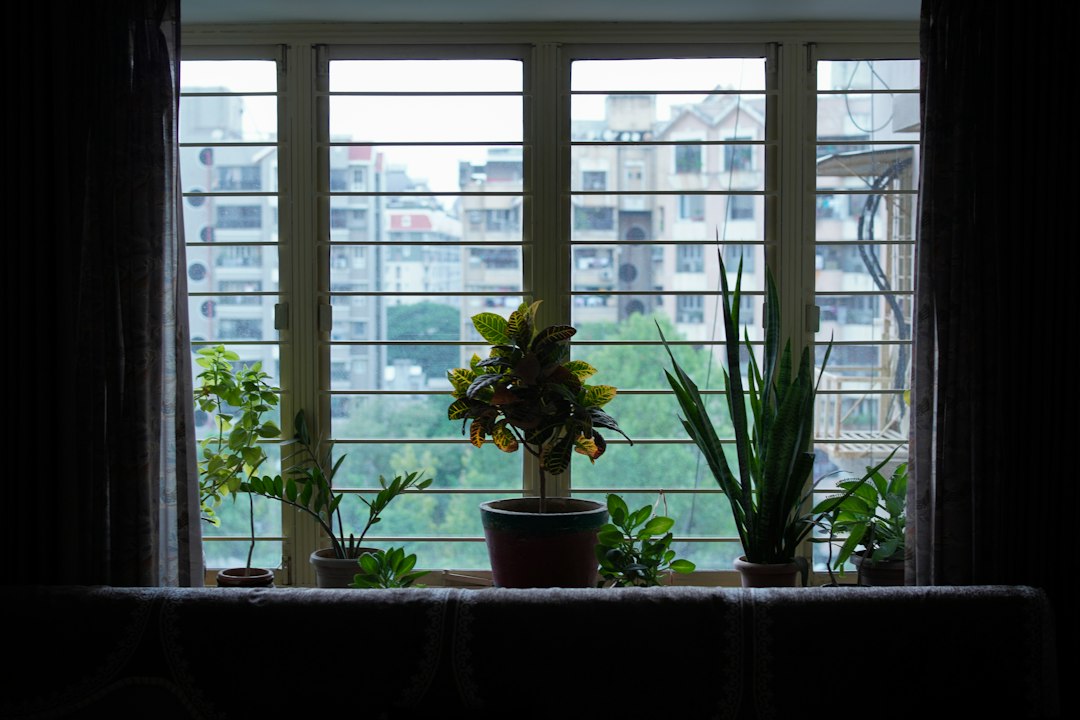
Microgreens are the single easiest indoor crop that sidesteps every one of these constraints. They require no drilling, consume almost zero electricity, fit on a 15 cm windowsill, and deliver an abundant harvest of intensely flavorful, nutrient-dense greens within seven to fourteen days.
Here is the exact low-friction method I use to keep fresh greens growing all winter long on an ordinary rental kitchen sill.
What Are Microgreens (and Why Are They Perfect for Renters)?
Microgreens are not sprouts. Sprouts are germinated in water and eaten whole (seed, root, and shoot), which requires rigorous sanitization to avoid foodborne bacteria.
Microgreens, by contrast, are grown in a shallow growing medium in the presence of air and natural light. You harvest only the tender stem and embryonic cotyledon leaves with a pair of kitchen scissors, leaving the root mat behind.
Because they are harvested just 8 to 14 days after germination:
- They don’t need fertilizer: The seed contains all the carbohydrates and mineral reserves required to fuel initial growth.
- They don’t need deep pots: A depth of just 2 to 3 cm of soil is plenty.
- They rarely suffer pest infestations: Spider mites and aphids rarely discover a tray before you’ve already eaten it.
The Equipment: Free and Recycled
Commercial microgreen growers use specialized 1020 injection-molded plastic trays. On a rental windowsill, those heavy trays are far too wide.
Instead, repurpose what you already have:
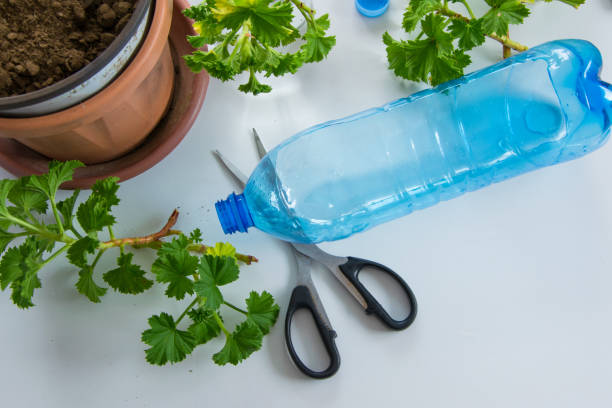
- The Growing Tray: Shallow clear plastic takeout containers, strawberry clamshells, or bakery trays (roughly 15 × 20 cm). Poke four drainage slits in the bottom with a heated skewer.
- The Drip Saucer: An identical tray without holes underneath to catch excess moisture and protect your windowsill woodwork from water damage.
- The Blackout Cover: An empty tray or opaque cardboard box cut to size, plus a heavy coffee mug to act as a pressing weight.
- Spray Mister: A standard 500 ml misting bottle from the drugstore.
The Best Beginner Varieties
Not all seeds perform equally on a tight windowsill. Start with these reliable workhorses:
- Speckled Pea Shoots: Sweet, crunchy, and virtually foolproof. They produce bulky, leafy tendrils that taste identical to fresh garden sugar snap peas.
- Daikon Radish: Germinates in 36 hours. Offers a crisp, peppery kick that transforms eggs, sandwiches, and grain bowls.
- Black Oil Sunflower: Thick, nutty, succulent greens with extraordinary crunch. (Requires a 12-hour pre-soak in cool water before sowing).
- Broccoli: Mild, earthy flavor packed with sulforaphane. Very quick to crop and forgiving of lower light.
Step-by-Step: From Seed to Harvest in 10 Days
Day 1: Sowing and the Weight Trick
Fill your drainage tray with 2.5 cm of moistened fine coco coir or organic seed compost. Level the surface flat with the base of a clean jar—do not pack it hard.
Sow seeds densely across the entire surface. Unlike garden vegetables that need 10 cm of thinning distance, microgreens should sit shoulder-to-shoulder, almost touching in a uniform single layer.
Mist thoroughly with room-temperature water. Place your blackout cover directly onto the seeds, then place a clean brick or heavy coffee mug on top.
Days 2–3: The Blackout Period
Keep the weighted tray in a dark corner or under your kitchen sink. Check daily: lift the weight, give 3–4 light spritzes of water to maintain humidity, and replace the cover.
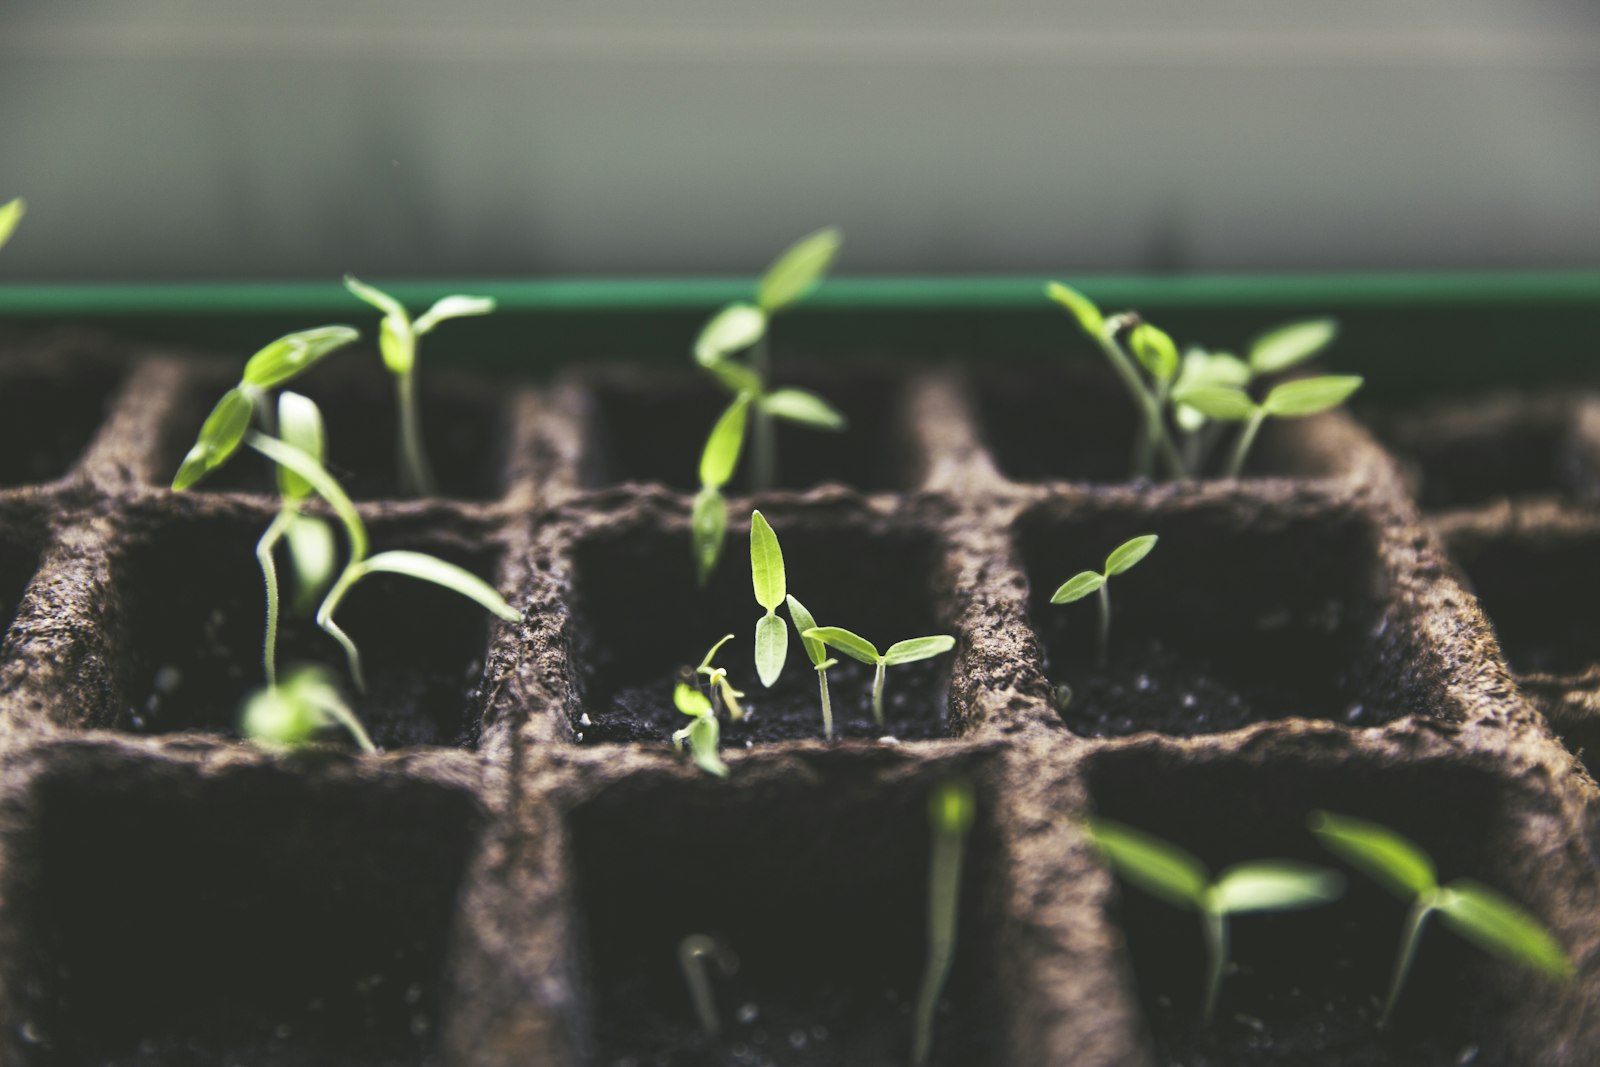
By day three, vigorous white roots will have anchored into the soil, and hundreds of pale yellow shoots will begin lifting the weighted lid upward.
Days 4–5: Window Light Exposure
Once the seedlings reach 2 cm in height and have shed their seed coats, remove the weight and blackout lid completely. Move the tray directly onto your brightest windowsill.
Within four hours of exposure to daylight, the pale yellow shoots synthesize chlorophyll and turn a deep, vibrant green.
Days 6–9: Bottom Watering
Once the canopy closes, never mist from above. Water sitting on densely packed leaves encourages mold (damping off).
Instead, lift the growing tray and pour 50 ml of water directly into the bottom drip saucer. The drainage holes will wick moisture up into the root zone within twenty minutes. Empty any unabsorbed water after half an hour.
Day 10: Harvest Time
When the first true leaves just begin peeking out between the smooth seed leaves (cotyledons), harvest your crop:
- Grab a clean bunch of shoots gently with one hand.
- Snip with sharp kitchen shears roughly 0.5 cm above the soil line to keep the stems free of dirt.
- Eat immediately or store dry in a sealed container lined with a paper towel in the fridge for up to a week.
Compost the spent root mat, rinse the tray, and sow your next batch. Three small trays running on a staggered five-day rotation will keep your kitchen continuously supplied with fresh greens all winter long.